Candle Making in Cold Weather: How Winter Affects Your Wax
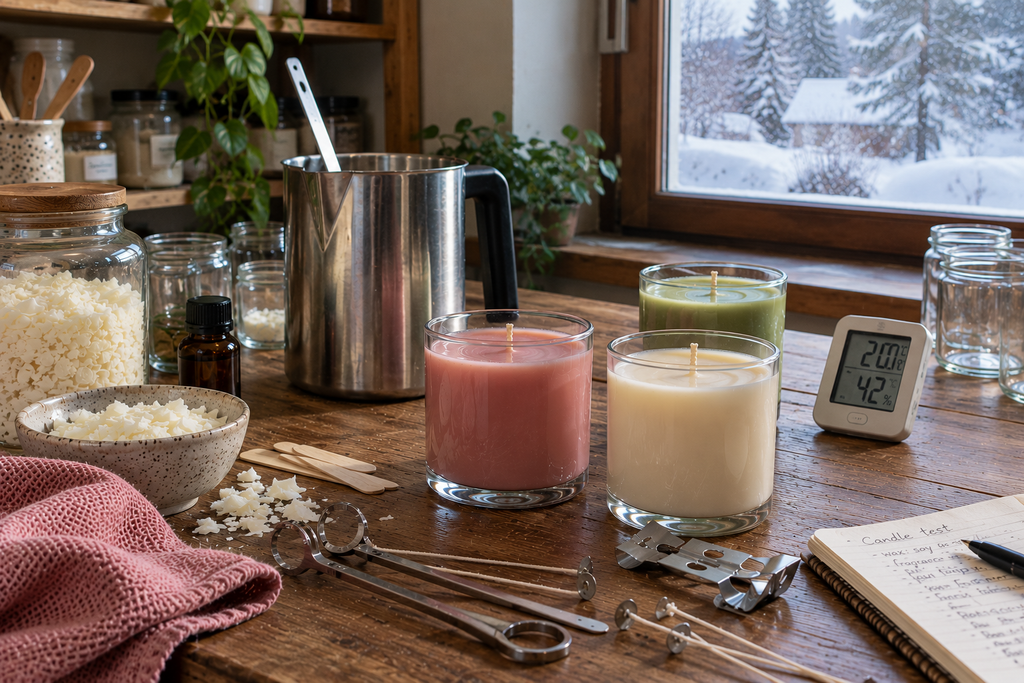
You’ve perfected your recipe. Same wax, same fragrance load, same pouring temperature that worked beautifully all summer. Then the first cold snap arrives, and suddenly your candles come out with frosty patches, gaps along the glass, or tops that look like the surface of the moon.
Welcome to winter candle making, where the recipe stays the same but the wax doesn’t. Wax is far more sensitive to temperature than most beginners expect, and a chilly room, a cold jar, or a drafty workbench can change how a candle sets, how it looks, and even how it burns.
The good news is that none of it is mysterious, and a few simple habits go a long way. In this guide, we’ll explain what the cold actually does to your wax, which problems to watch for, and how to set up your workspace, materials, and routine so your candles turn out just as well in January as they did in July.
A warm drink is optional, but highly recommended.
Why Cold Weather Affects Candle Making
Wax may look solid and steady, but it responds to its surroundings far more than most beginners expect. Every stage of candle making, from melting to curing, is governed by temperature, and a cold environment can ripple through the entire process.
Wax cools too fast, and unevenly
When a candle sets in a chilly room, the wax loses heat faster than it should, and rarely evenly. The wax along the edges cools first while the center stays warm, and since wax shrinks as it solidifies, that uneven cooling can pull it away from the glass, leave rough or cracked tops, and encourage the crystal growth behind frosting.
Cold materials get you off to a bad start
Wax, fragrance oils, and jars that have been sitting in a cold room all begin the process at a disadvantage. Cold wax takes longer to melt, which throws off your usual working times, and cold ingredients can melt unevenly. The jar matters most: the moment warm wax meets cold glass, the glass draws heat out of the wax along the walls, which is a common cause of adhesion problems like gaps between the wax and the jar.
The effects don’t stop at the pour
Cold weather keeps influencing a candle long after it’s finished. A candle stored in a room with no temperature control can behave differently from the same candle made in warmer months, including how it burns. Repeated temperature swings in storage or transit can bring back the cosmetic problems you thought you’d avoided.
The good news is that nearly all of this comes down to one thing: keeping your temperatures steady. Before we get to the solutions, let’s look at the problems cold weather causes most often.
Common Cold-Weather Candle Problems
Cold weather tends to leave its mark on a candle’s appearance long before it affects how the candle performs. Here are five problems to watch for, along with what’s behind each one.
Frosting
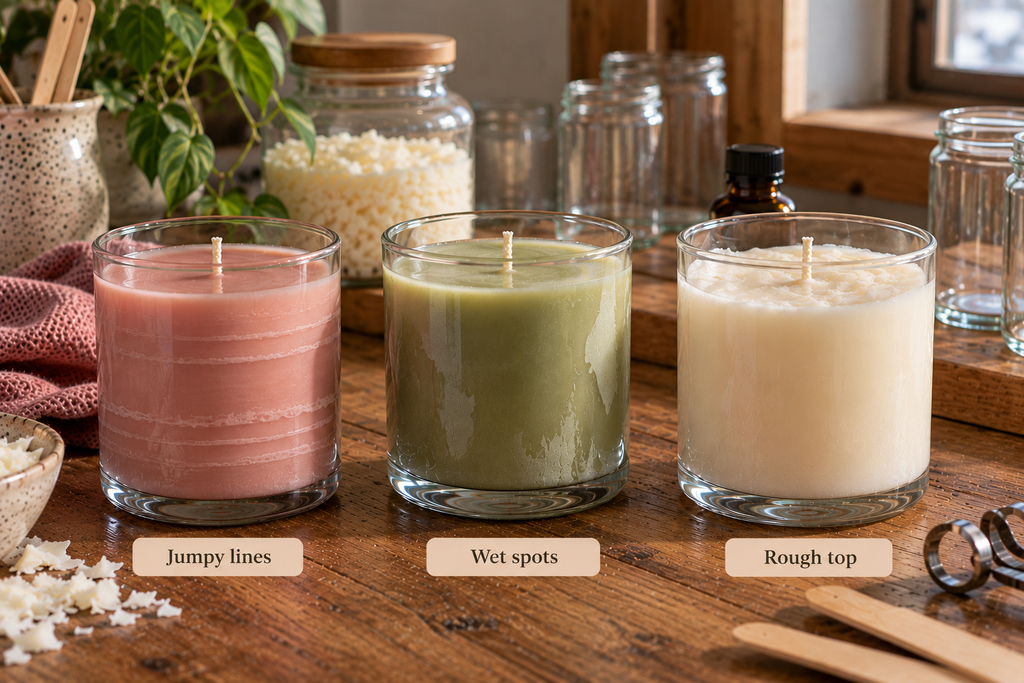
A white, crystalline coating on the top or sides of the candle, most common in soy and other plant-based waxes. Cold rooms and cold jars make the wax set too fast and unevenly, which encourages the crystal growth behind frosting. It’s harmless, and the first burn melts it away.
Wet spots
Dark, patchy areas along the glass where the wax has pulled away from the jar. They form as wax shrinks while it cools, and a cold jar or a fast-cooling room makes the shrinking more pronounced. Wet spots don’t affect how the candle burns, but they can also return later if the finished candle goes through temperature changes.
Rough or bumpy tops
Instead of a smooth surface, the wax sets in lumps, ridges, or a texture some makers call “cauliflower tops.” The same crystallization behind frosting is often responsible, and uneven cooling in a cold space makes it worse. It’s especially common in soy wax, and a quick pass with a heat gun usually smooths it out.
Cracking
Fine lines or fractures across the surface appear when wax contracts too quickly as it cools. Drafts, cold jars, and cold work surfaces all speed up that contraction, as does the temptation to set candles in the fridge or freezer. Natural waxes like soy and coconut are more prone to it.
Jump lines
Thin horizontal rings around the sides of a container candle, caused by wax that sets in stages as it’s poured. They’re associated mostly with paraffin, and they appear when hot wax meets a cold jar and begins to solidify against the glass before the pour is finished. Opaque containers hide them completely.
All five come back to the same cause: wax losing heat too fast or unevenly.
Think you’ve found your culprit? We wrote a dedicated guide for each problem with causes and fixes, so you can go straight to the right fix for your candle.
Setting Up Your Workspace for Winter
A winter-ready workspace comes down to one goal: keeping the air, your supplies, and your work surfaces at a steady, moderate temperature before, during, and after you pour.
Aim for 18-25°C (64-77°F)
This is the range many suppliers recommend for both your studio and your storage area, because it keeps your wax, jars, and surroundings close in temperature, so candles cool slowly and evenly. If you can, aim for the middle of that range, around 20-22°C (68-72°F). A simple room thermometer helps, but place it where you actually work, at the level of your work surface, since a thermometer on a shelf near the heater will give you an overly optimistic reading.
Warm the space in advance
Start heating the room well before you pour. Warm air alone isn’t enough: walls, floors, and countertops take much longer to warm up than the air does, and a cold counter can keep pulling heat out of your jars even in a room that feels comfortable. Whatever you use to heat the space, keep heaters well away from melting wax and flammable materials, and never leave wax unattended while it melts.
Keep drafts and cold surfaces away
Set up your pouring and setting area away from windows, exterior doors, vents, and fans. Even a gentle draft can cool one side of a candle faster than the other, which is exactly the uneven cooling behind most of the problems we just covered.
Think twice about garages and sheds
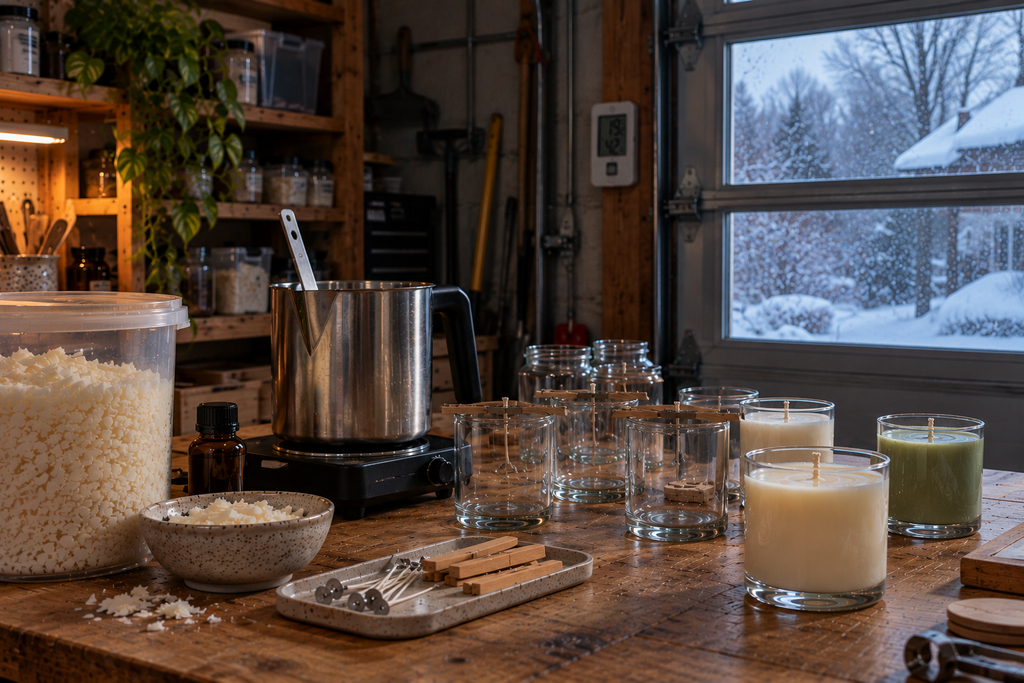
Unheated garages, sheds, and spare rooms are the hardest places to work in winter, because their temperatures can swing widely over a single day. If that’s your only workspace, heat it thoroughly before you start, and bring your supplies indoors at least a day ahead, so nothing begins the process cold.
Cold affects some materials in particular ways, too. If you work with beeswax sheets for rolled candles, cold turns them brittle and difficult to roll, which is one more reason to keep your materials warm.
Preparing Your Materials
A warm room is only half the equation. Materials stored somewhere cold bring that chill along, and it shows in the finished candle. A few simple steps prepare them properly.
Bring everything to room temperature
Move your wax, fragrance oils, dyes, and jars into the heated workspace ahead of time, ideally the day before. Wax that starts at room temperature melts more evenly and on a more predictable schedule, and room-temperature jars are far less likely to shock the wax when it’s poured.
Clean and dry your containers
Wax grips clean glass best. Wash your jars with mild soapy water, rinse them well, and dry them thoroughly before use, since leftover residue or moisture can interfere with adhesion, which is already more fragile in cold conditions.
Preheat your jars
In winter, this is the single most useful step you can take. Warm jars slow down heat loss along the glass, which reduces wet spots, jump lines, and uneven setting. Aim for roughly 38-43°C (100-110°F): comfortably warm, never hot. A few minutes in a low oven does the job, and a heat gun passed briefly over the glass works too (we cover how to use one safely in our heat gun guide).
Handle warm jars with oven mitts, and make sure your containers are made to handle heat. Always follow the glass and wax manufacturers’ guidance, warm containers gently and avoid thermal shock.
Warm jars also cool down again quickly in a chilly room, so preheat only as many as you’re ready to pour, and pour soon after.
Fine-tune your pouring temperature
Cold weather doesn’t change your wax’s recommended pouring range, so start with your supplier’s guidance. If you still see problems, adjust one variable at a time, in small steps of about 3°C (5°F), and keep notes on your pouring temperature, room temperature, and cooling conditions. After a few batches, those notes will show you exactly what your setup needs.
With your materials ready, the last variable is the one that matters most: how your candles cool.
Cooling and Curing in Winter
Once the wax is in the jar, your job is just waiting, and what you’re waiting for is a slow, even cooling. Winter makes that harder, but a few habits keep it on track.
Cool slowly and away from drafts
Let your candles set undisturbed in a draft-free spot, away from windows, exterior doors, and fans. Avoid the fridge, the freezer, and the cold garage shelf, since a sudden temperature drop is one of the surest ways to get cracks and frosting. If your space is drafty, rest a cardboard box or a clean towel loosely over the candles (not touching the wax) so air currents can’t cool one side faster than the other.
Mind what’s under and around your jars
Cold, solid surfaces like stone, tile, and metal can pull heat out of the base of a jar, so the bottom sets faster than the rest. There are two common ways to deal with it, and both work toward the same goal. Some makers elevate the jars on a wire rack, so air circulates underneath, or on corrugated cardboard, which does the same thing.
Others insulate the base with a towel. Try both with the wax and workspace and see which one gives you the smoother result. It also helps to space the candles about 10 cm (4 inches) apart, since jars packed closely together can warm each other’s facing sides and cool unevenly.
Give them 48 hours of steady warmth
Start by trying to keep freshly poured candles at a steady 18-25°C (64-77°F) for the first 48 hours. Several suppliers tie this window to fewer surface cracks, because the wax finishes shrinking gradually instead of in a rush.
Cure somewhere steady
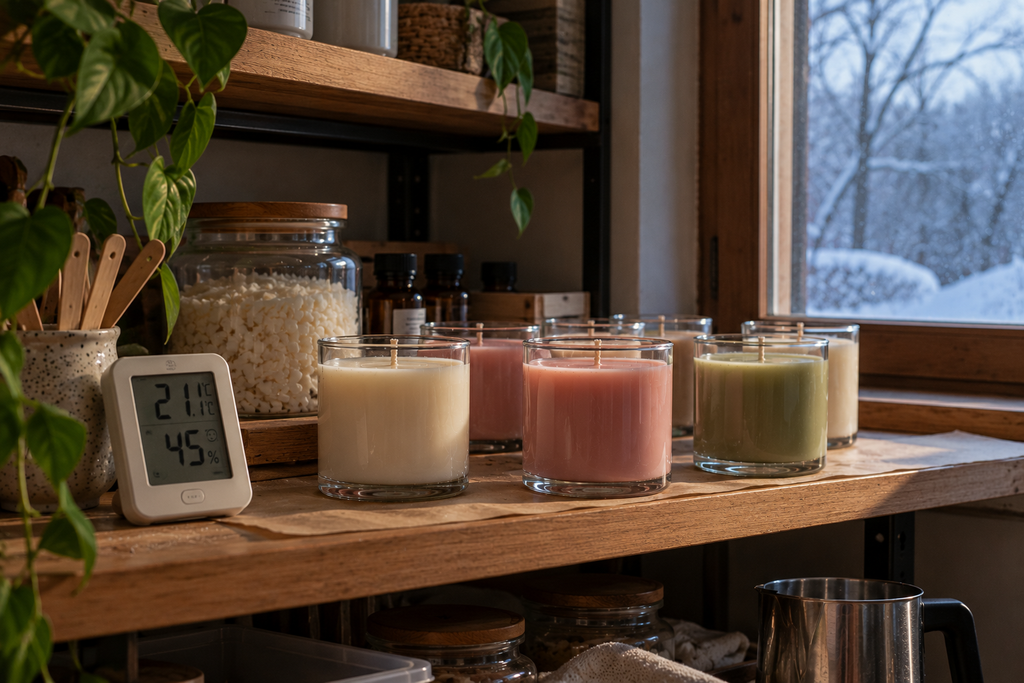
Curing as a resting period during which the wax structure and fragrance performance can stabilize, with timing dependent on the formulation. It lets fragrance bind properly to the wax, many soy waxes call for 1 to 2 weeks, so check your supplier’s recommendation.
Keep curing candles somewhere stable, away from windows and heat sources, since temperature swings during this stage can undo the careful work you’ve done so far.
Once the candles are set and cured, there’s one more stretch you need to be careful about: storage, shipping, and testing.
Storing, Shipping, and Testing Finished Candles
A candle that sails through pouring and curing can still run into trouble once it leaves your workbench. Cold keeps working on finished candles, and a few habits protect them all the way to the first burn.
Storing your candles
Keep finished candles in the same steady 18-25°C (64-77°F) range you used for pouring, away from windows, heaters, and unheated rooms. What does the damage is usually the swing between temperatures, since repeated warm-and-cool cycles are what bring back frosting, wet spots, and cracks.
Shipping and transporting
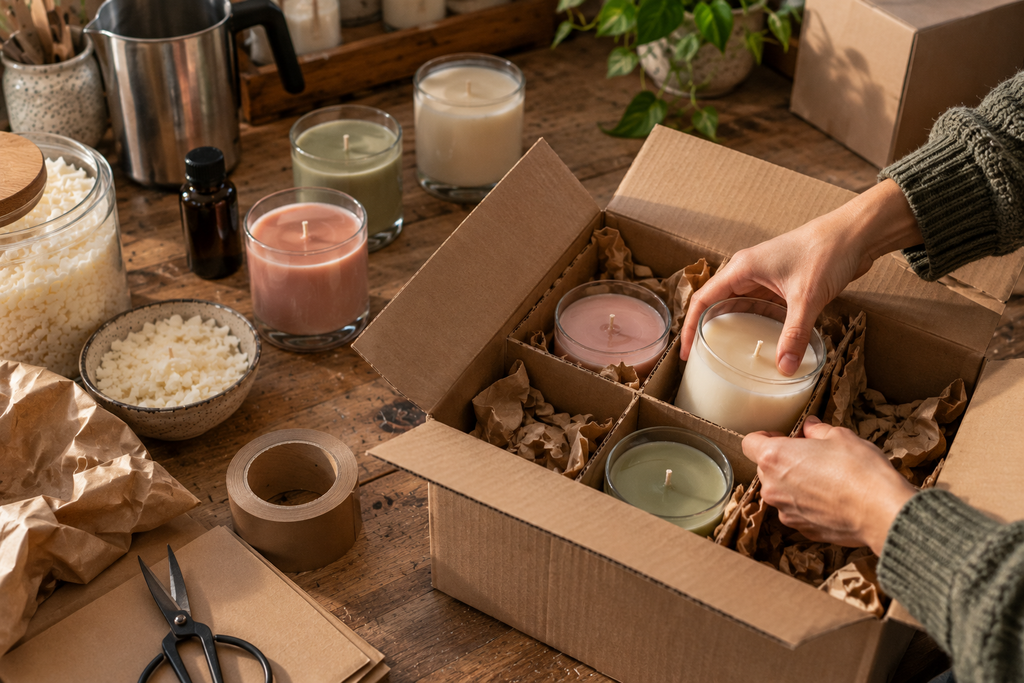
Cars, delivery trucks, and doorsteps can get cold enough to make wax contract and pull away from the glass, so avoid leaving candles in a cold vehicle for long, and keep transit times short where you can. If a candle has been exposed to serious cold, let it return to room temperature for a couple of hours before lighting it, this protects both the glass and the wax. If you sell your candles, a short care note on this is a small detail that prevents a lot of customer confusion.
How cold changes the way a candle burns
Temperature affects performance, too. In a cold room, a candle melts less wax per hour, and a smaller melt pool raises the risk of tunneling, where the flame burns straight down the middle and leaves wax clinging to the sides. The same candle can burn differently in January than in July, so burn it long enough for the melt pool to reach the edges, and let it warm up first if it’s been in a cold room.
You may have heard that freezing candles makes them burn longer. When NYT Wirecutter tested the idea on taper candles, freezing barely changed burn time, and the wax cracked at the base, since it expands as it warms and contracts as it cools.
Test your candles under the right conditions
If you’re testing a new recipe, take the candle straight from your temperature-controlled studio or storage area. A candle tested from a cold shelf can burn differently from the same candle at room temperature, and you could end up changing a perfectly good recipe to fix a problem that was really just about temperature.
Note the room temperature in your test records so your results stay comparable from batch to batch.
Winter Quick Checklist
Everything from this guide in one place. Bookmark it, screenshot it, or pin it above your workbench.
Workspace
☐ Room kept at 18-25°C (64-77°F), checked with a thermometer at work-surface level
☐ Space heated well before you start, so counters warm up too, not just the air
☐ Pouring area away from windows, doors, vents, and fans
☐ Heaters kept away from wax, and melting wax never left unattended
Materials
☐ Wax, oils, dyes, and jars brought to room temperature ahead of time (ideally the day before)
☐ Jars clean and completely dry
☐ Jars preheated to about 38-43°C (100-110°F), only as many as you’re ready to pour
☐ Pouring temperature within your supplier’s range, adjusted in small steps of about 3°C (5°F), with notes kept
Cooling and curing
☐ Candles set in a draft-free spot, never in the fridge or freezer
☐ Jars raised on a wire rack or insulated with a towel
☐ Jars spaced about 10 cm (4 in) apart
☐ Steady 18-25°C for the first 48 hours
☐ Candles cured somewhere stable for a week or two (check your supplier)
Storing, shipping, and testing
☐ Finished candles stored in the same steady temperature range
☐ Candles exposed to serious cold given a couple of hours to warm up before lighting
☐ Test burns done straight from your temperature-controlled space, with room temperature noted
Frequently Asked Questions (FAQ)
Can I make candles in a cold garage?
You can, but garages swing between chilly and mild within a single day, which makes your results hard to repeat. If it’s your only option, warm it up thoroughly before you start.
Is a candle that got cold in transit safe to burn?
Usually, once it has warmed up indoors until the glass feels room temperature. Before lighting it, check that the wax is still attached to the jar and the wick is firmly in place, and if either has come loose, don’t burn it.
Does cold weather change my wax’s pouring temperature?
Not by default, since your supplier’s range still applies. If you notice jump lines or poor adhesion, though, pouring a few degrees warmer can help, but fix your room, jars, and cooling setup first.
Why do my candles frost more in winter?
A chilly room makes wax set quickly and unevenly. Steadier temperatures are the fix.
Can I store finished candles in an unheated shed over winter?
It’s best to avoid it. Cold on its own rarely harms wax, but the swing between freezing nights and milder days stresses it, which can lead to cracks and frosting. An indoor closet or cupboard is a safer home.
Final Thoughts
Turns out wax has a lot in common with the rest of us in January: it doesn’t like being cold, it hates drafts, and it really doesn’t appreciate sudden changes.
A frosty candle or two now and then is part of the learning curve, and every batch teaches you something about how your wax behaves.
Thanks for reading, and we hope this guide helps you keep your candles looking their best all winter long. Leave a comment and let us know your best cold-weather tip!