Candle Making Equipment Guide: What Tools You Need to Start Making Candles
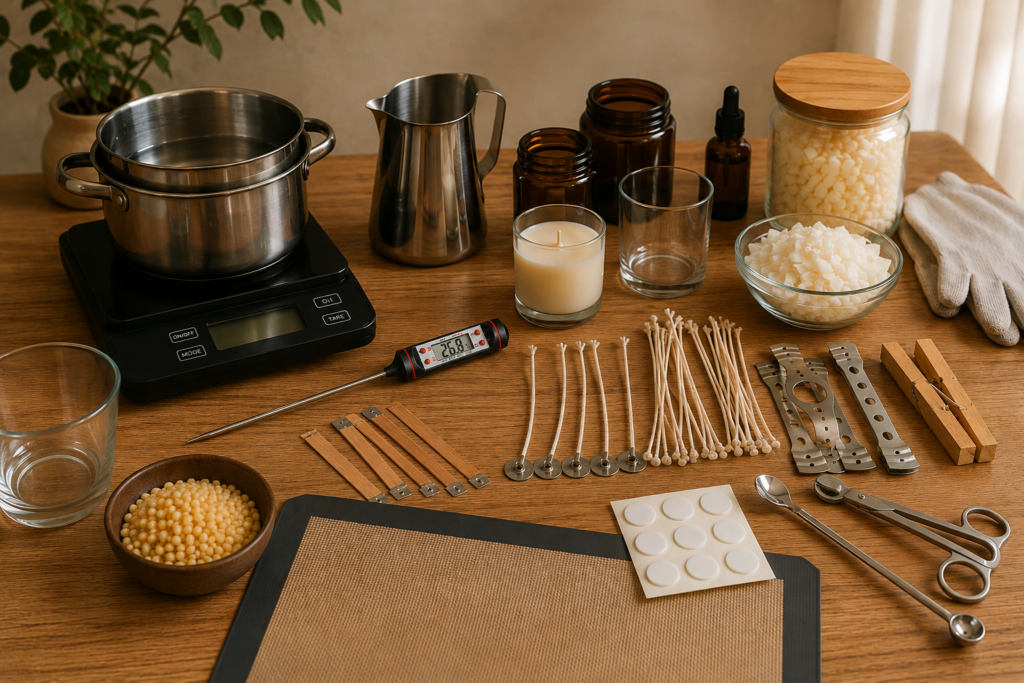
If you’re thinking about making candles at home, one of the first questions you’ll probably have is: What equipment do I actually need to start?
The good news is that you don’t need a huge collection of specialist tools to make your first candles. A few basic pieces of equipment, combined with the right wax, wick, fragrance oil and containers, are enough to get started.
However, having the right equipment can make the process much easier. Accurate measurements, controlled temperatures and properly positioned wicks all contribute to better-looking and better-performing candles.
In this candle-making equipment guide we’ll cover the essential tools that beginners need in order to start, useful accessories that make the process easier, and some important safety equipment you shouldn’t overlook.
The Essential Candle-Making Equipment
1. Digital Weighing Scale
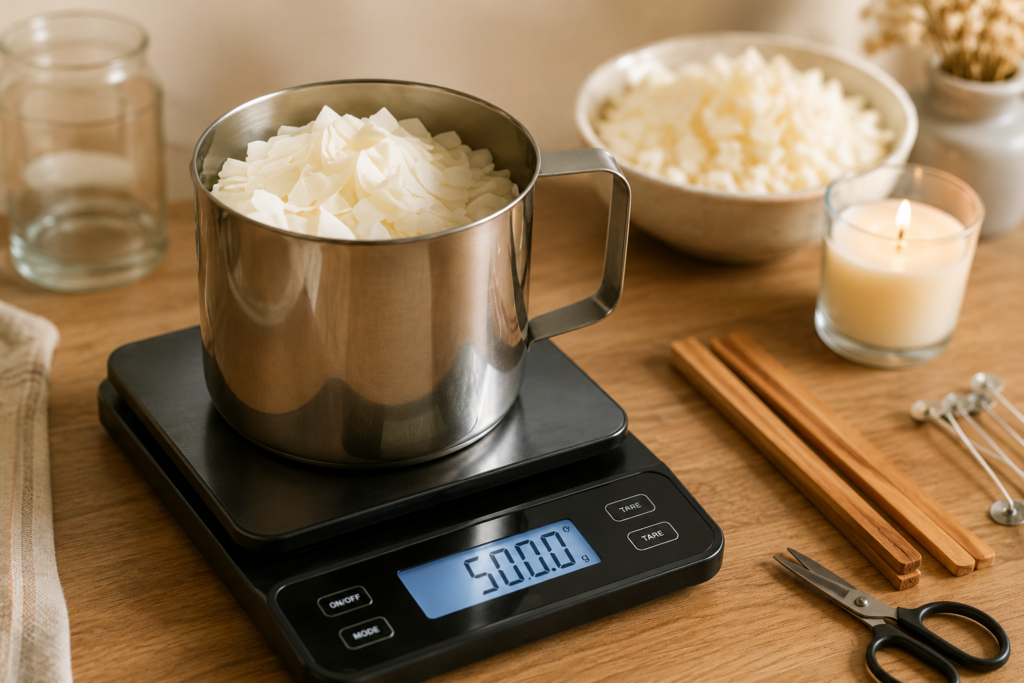
A good digital scale is one of the most important pieces of equipment for candle making.
Candle ingredients should generally be measured by weight rather than volume, particularly when you’re measuring wax and fragrance oil. Accurate measurements help you reproduce the same candle recipe from one batch to the next.
Look for a digital scale that measures in grams and has a capacity suitable for the quantities you plan to make. A tare function is also extremely useful because it allows you to reset the scale to zero after placing a container on it.
A kitchen scale can work perfectly well for a beginner, although many candle makers eventually choose a dedicated scale for their workspace.
Tip: Keep your candle-making measurements consistent. If your recipe uses 500 g of wax and 40 g of fragrance oil, record those quantities so you can reproduce the result later.
2. Thermometer
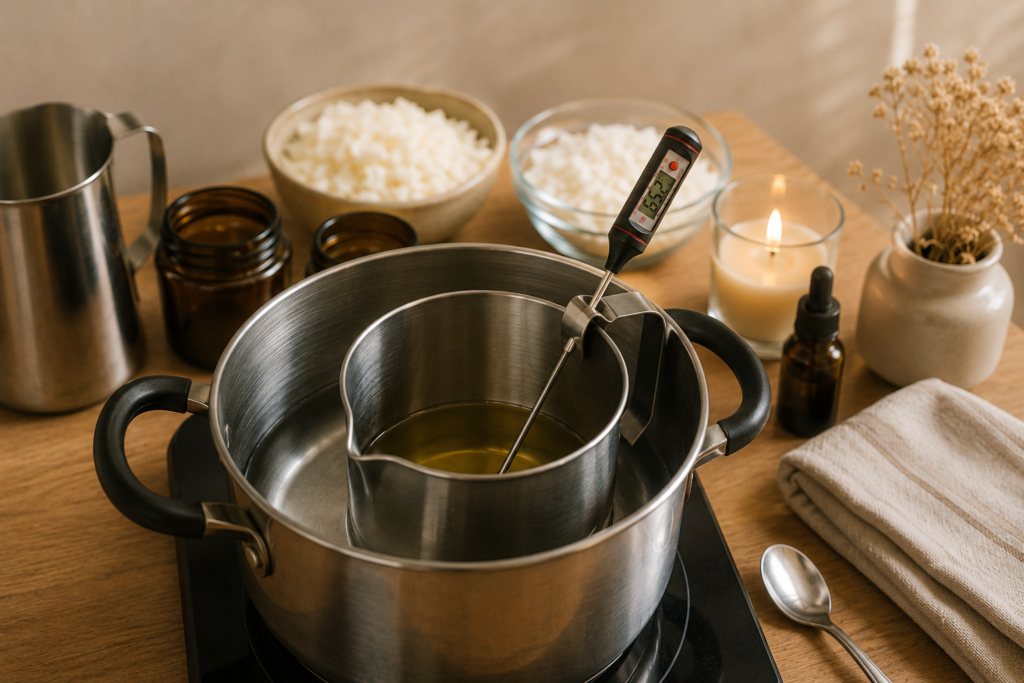
A thermometer is another essential piece of the candle-making equipment.
Wax needs to be heated and cooled to appropriate temperatures during different stages of the process. The ideal temperatures vary depending on the type and brand of wax you’re using, so always follow the manufacturer’s instructions rather than relying on one universal temperature.
A digital thermometer with a clear display is a good choice for beginners. An infrared thermometer can also be useful, although it measures the surface temperature and can behave differently from a probe thermometer.
Whatever type you choose, make sure it has a temperature range suitable for candle making.
3. Wax Melting Container or Pouring Pitcher
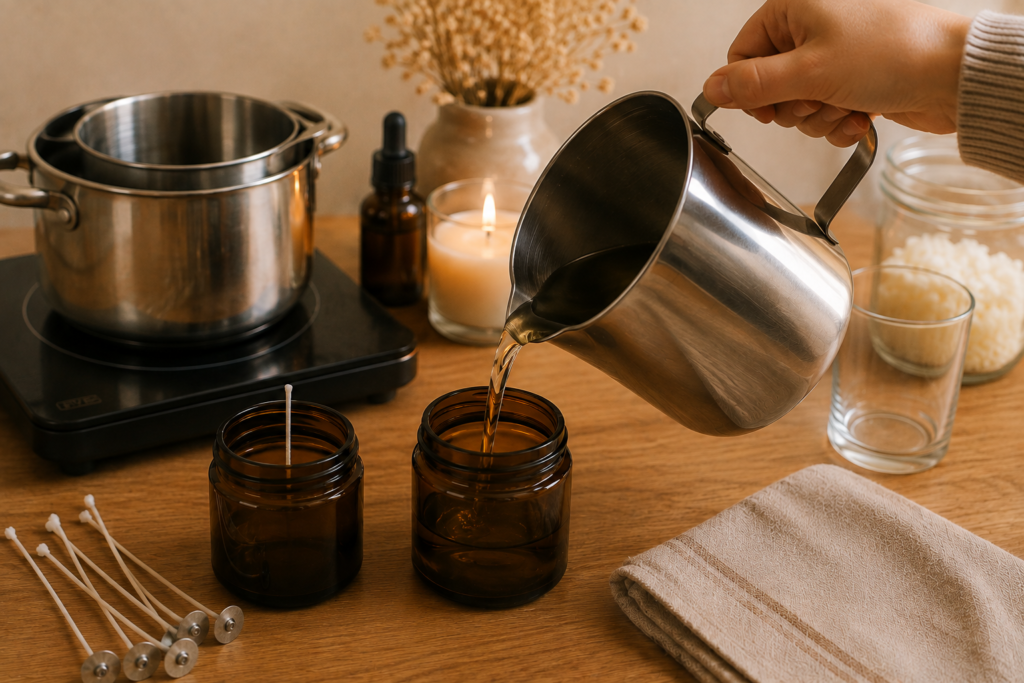
A heat-resistant pouring pitcher makes melting and pouring wax much easier.
Stainless-steel pitchers are popular because they’re durable, easy to clean and designed to withstand high temperatures. A pitcher with a comfortable handle and a narrow pouring spout can also give you much better control when filling candle containers.
For beginners, a pitcher with a capacity of around 1–2 litres is often a practical starting point, although the right size depends on how many candles you plan to make at once. Also glass pitchers like the ones we use in the kitchen are a good option for starting.
4. Wax Melting Setup
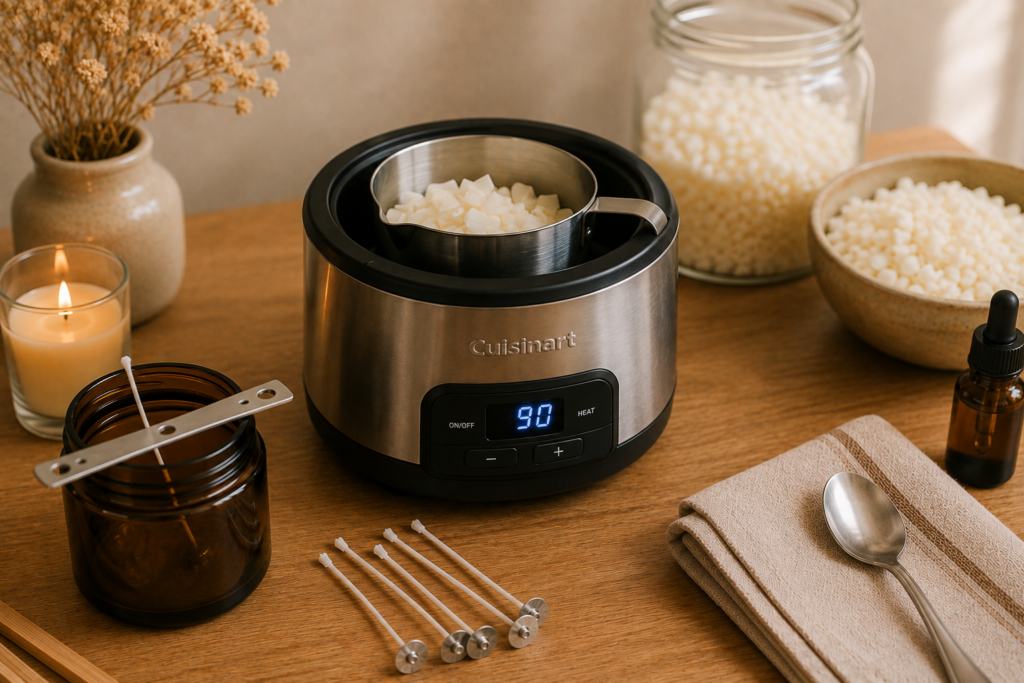
Of course, you need a safe way to melt your wax.
For small batches, one common approach is a double-boiler setup, where a heat-resistant container containing the wax is gently heated using a separate water bath.
Dedicated wax melters are another option and can be particularly useful if you plan to make candles regularly or in larger quantities. But that can come when you already started your own candle making business, to start a double-boiling set up is more than enough.
Whatever method you use, temperature control is important. Never leave melting wax unattended, and follow the safety and heating instructions provided by your wax manufacturer.
It’s also a good idea to dedicate your candle-making equipment to candle making rather than switching between candle production and food preparation.
5. Wick Adhesives
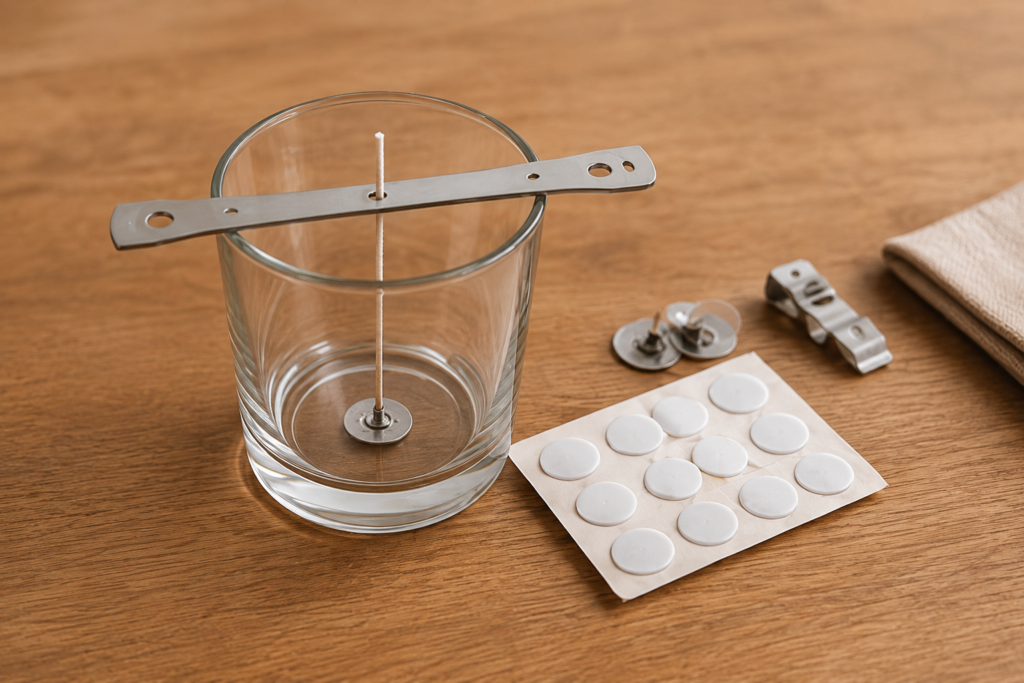
Before you pour your wax, your wick needs to be securely attached to the bottom of the container.
Wick stickers are small adhesive discs designed specifically for this purpose. They are inexpensive and easy to use, making them a useful addition to any beginner’s candle-making kit.
Apply the adhesive to the bottom of the wick tab, position it in the centre of the container and press it firmly into place.
For larger or heavier wick types, you may need a different adhesive system depending on the manufacturer’s recommendations.
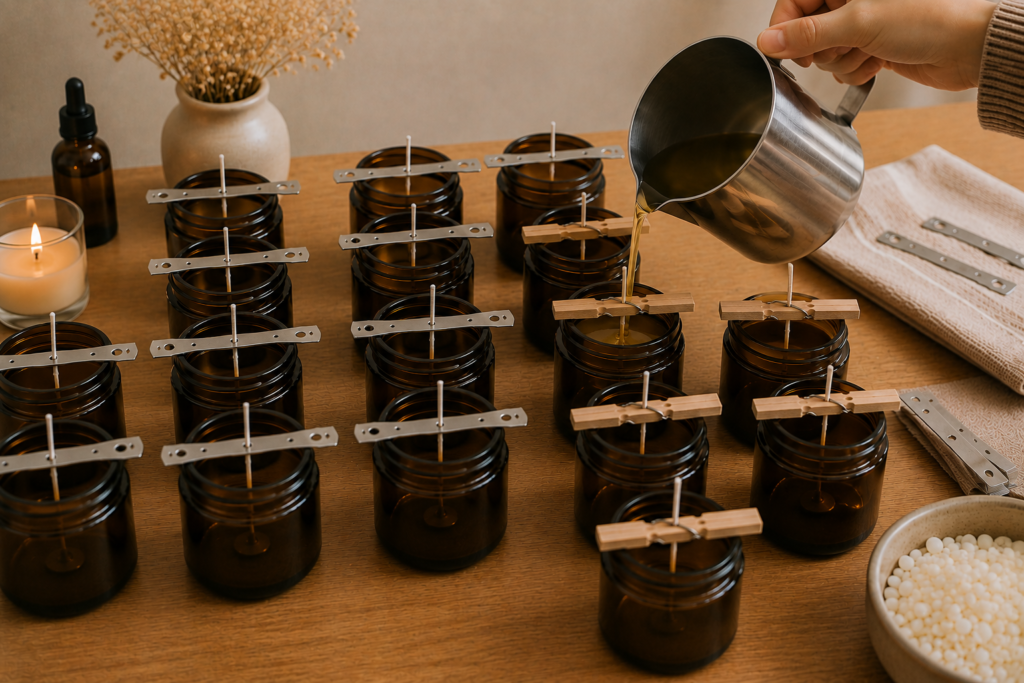
6. Wick Centering Tool
Keeping your wick centred while the wax cools is important for producing a neat-looking candle and supporting an even burn.
There are several inexpensive options available, including wooden or metal wick-centering bars clips and other positioning tools. Even a simple clothespin can work for some candle projects.
The important thing is that the wick remains upright and centred while the wax solidifies.
If you’re making several candles at once, having multiple centering tools can save considerable time.
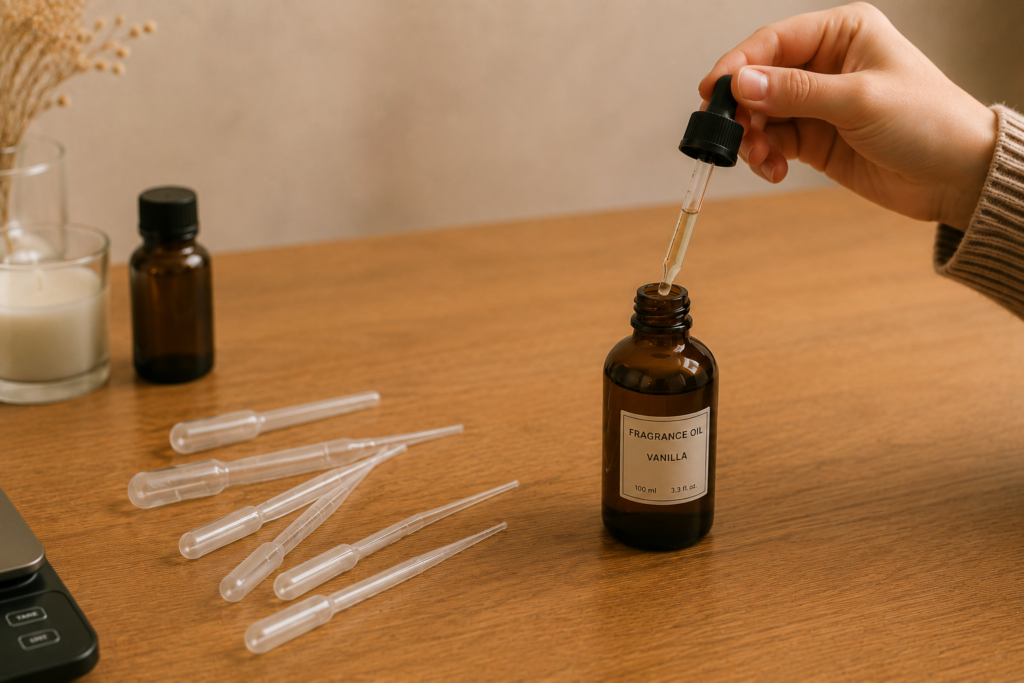
7. Pipettes or Small Measuring Tools
Pipettes can be useful when working with small quantities of liquid ingredients, particularly during testing.
However, for candle-making fragrance oil, a digital scale is generally preferable to measuring by drops or volume. Fragrance should be weighed accurately so that you can control your fragrance load and reproduce your recipe.
A pipette can still be useful for handling small amounts of fragrance during experiments or for keeping your workspace cleaner.
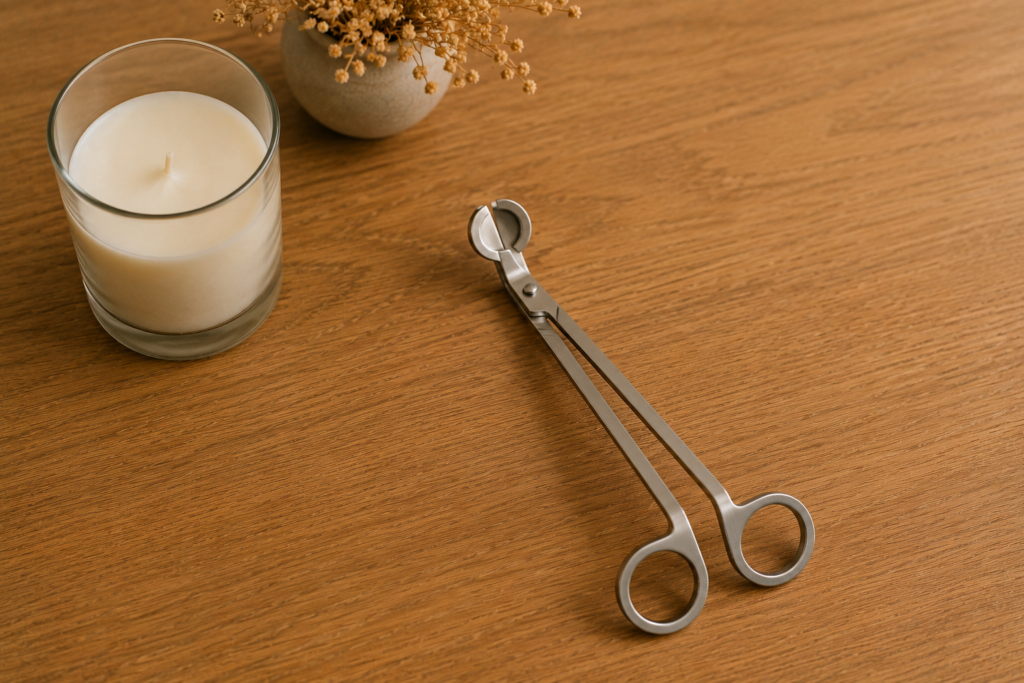
8. Wick Trimmer or Scissors
A wick trimmer isn’t essential for making a candle, but it’s a useful accessory.
You can use scissors to trim many cotton wicks, while a dedicated wick trimmer can make trimming easier once the candle has been poured and cured.
Wooden wicks and other specialty wicks may require different trimming methods, so follow the recommendations for the particular wick you’re using.
Candle-Making Materials You’ll Need
Equipment is only half of the equation. You’ll also need the ingredients and components that make up the candle itself. We are gonna list the most essential components to start candle making, for each of the element with have comprehensive guides you can click on to learn more and slowly became a professional candle maker. Ready? Let’s start!
Wax
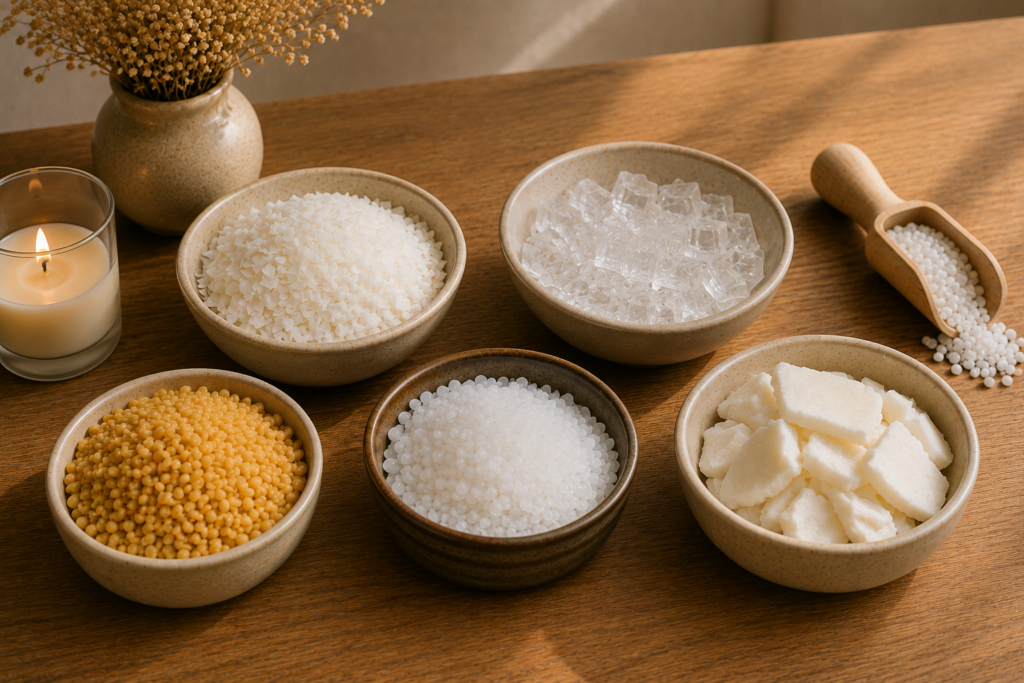
There are several types of candle wax available, including:
- Soy wax
- Paraffin wax
- Beeswax
- Coconut wax
- Rapeseed wax
- Gel wax
- Various blended mix of waxes
Soy wax is a popular choice for beginners because it is widely available and relatively easy to work with. However, there isn’t one universally “best” candle wax and we suggest to experiment to find out which wax you feel more called towards using for your creations.
Different waxes have different melting characteristics, cooling behaviour, fragrance performance and appearance. They can come in flaxes, cubes, squares, blocks. Always read the manufacturer’s instructions before working with a new wax.
Fragrance Oils
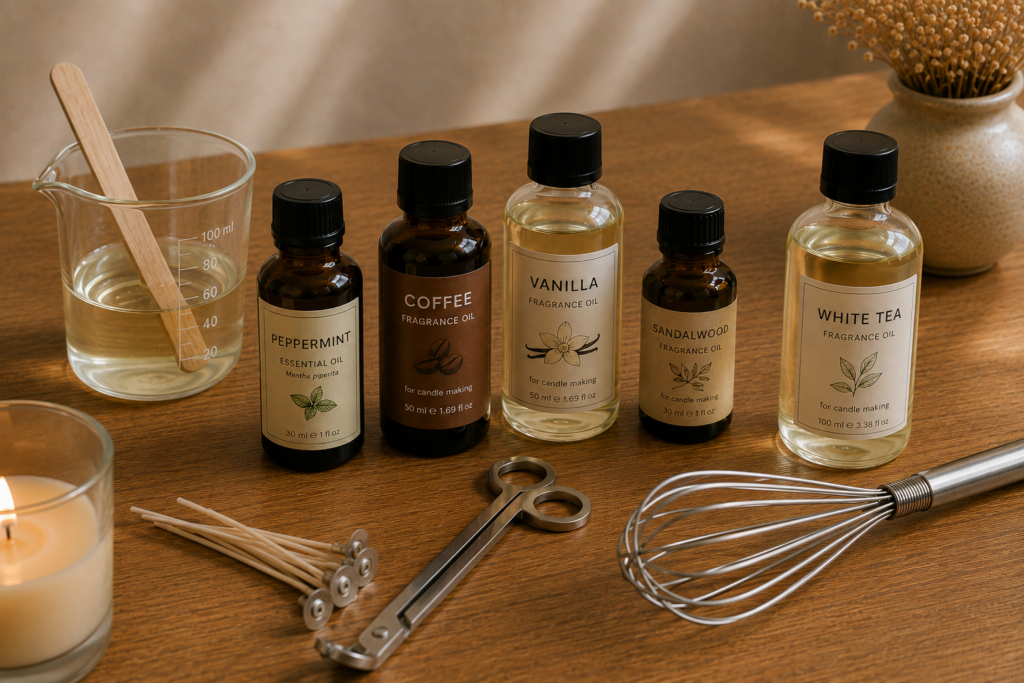
Fragrance is one of the most enjoyable parts of candle making, but it also requires careful measuring.
Use fragrance oils and essential oils specifically formulated and approved for candle-making applications, and check the supplier’s recommended usage rate.
Don’t simply add more fragrance because you want a stronger-smelling candle. Too much fragrance can negatively affect the candle’s performance and may create safety or burning problems.
For repeatable results, record the exact amount of fragrance used in each test batch.
You can experiment with individual fragrances and eventually down the line create your own custom blends. Keep notes about every combination so that you can recreate your favourites.
Wicks
A candle can’t burn without a wick, but choosing the correct wick is more complicated than simply choosing between cotton or wood.
Wicks are available in many different sizes and series, and the correct choice depends on factors including:
- Container diameter
- Wax type
- Fragrance load
- Dye
- Wick material
- Candle formulation
A larger container does not automatically require a larger wick.
The best approach is to follow the wick manufacturer’s recommendations and then test your candle thoroughly.
Cotton wicks are a popular starting point because they are available in many sizes. Wooden wicks are another option and can produce a distinctive burning experience, with the trendy “crackling” sound that turns every environment into a cozy place. Wooden wicks also have their learning curve as they vary in burning time and size and length from the classic cotton wicks.
Candle Containers
Your candle container needs to be suitable and resistant for candle burning.
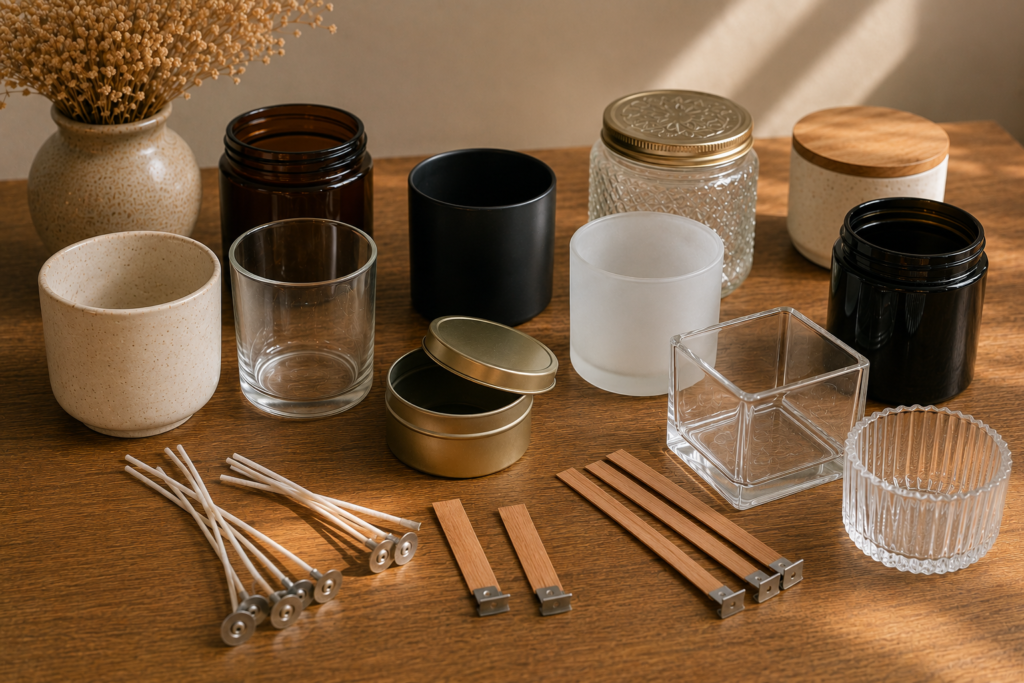
Heat-safe glass jars are a popular choice, also tins with lids and purpose-built ceramic vessels are also available, which could be a great choice to give your candles more of an artisanal feel. Some candle makers go as far as creating their own ceramic containers, going above and beyond in creating custom shapes for their candles.
Don’t assume that any attractive glass, jar or ceramic container is automatically suitable for a candle. Decorative vessels may not have been designed to withstand repeated heating.
Choose containers specifically intended for candle making whenever possible, and make sure the container size matches the wick and wax system you’re testing.
Moulded Candles
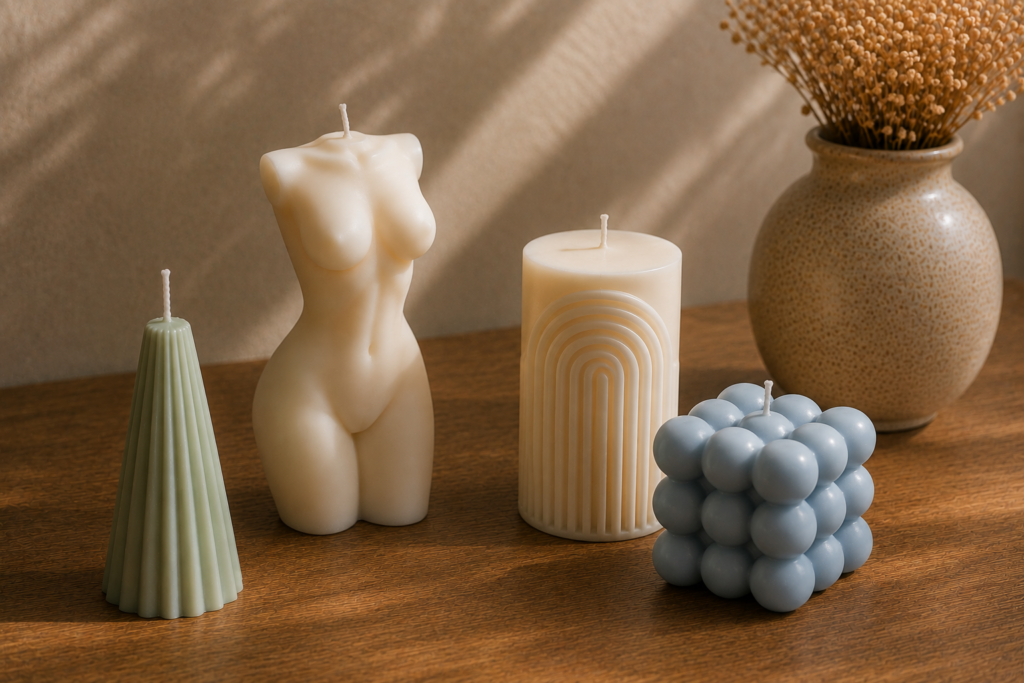
If you plan to make moulded or freestanding candles, you will also need suitable candle moulds. Unlike container candles, these are designed to hold their shape after being removed from the mould, so the wax type you’ll choose will be a bit different in composition, and you can go wild in choosing different moulds that are available in the market, or go as far as creating your own moulds with silicone and whatever object you’d like to recreate in candle form.
Common types of moulded candles include pillar candles, taper candles, long stick candles, and sculptural candles (like body candles or dessert candles) in decorative or artistic shapes.
Moulds are available in many materials and designs, allowing you to create everything from simple classic candles to more distinctive decorative pieces.
Helpful Candle-Making Accessories
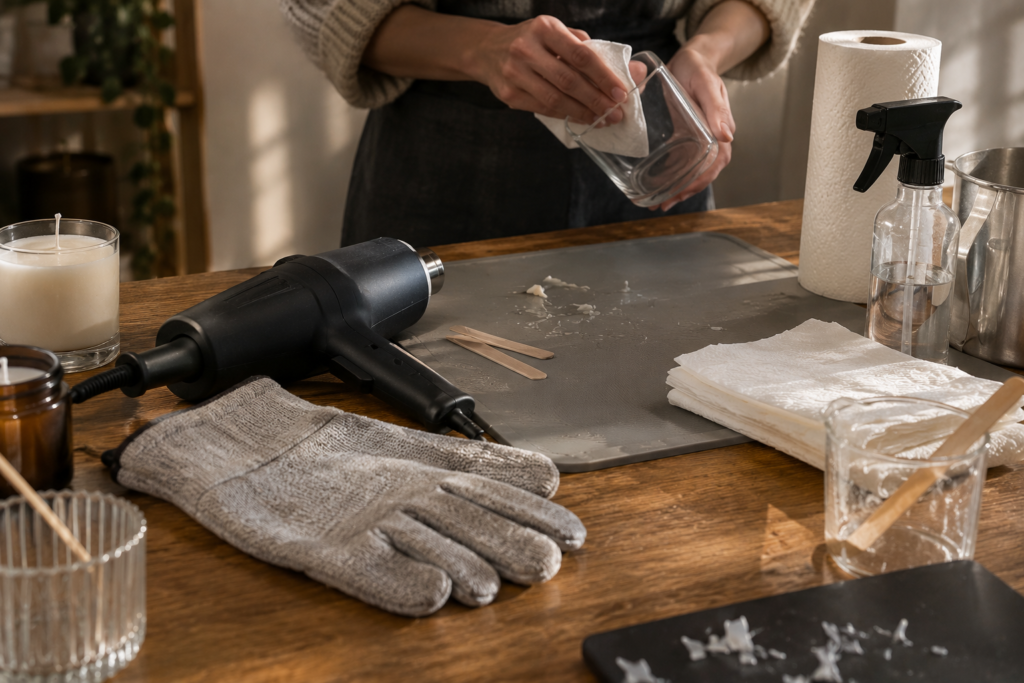
1. Heat Gun
A small heat gun can be extremely useful for candle making.
It can help smooth minor imperfections on the surface of a candle and can sometimes be used to improve the appearance of uneven tops.
Use heat carefully and avoid overheating the wax or container.
2. Heat-Resistant Gloves
Heat-resistant gloves can provide an additional layer of protection when handling hot equipment or containers.
They aren’t a substitute for careful handling, but they’re a sensible addition to a candle-making workspace.
3. Silicone Mat or Protective Work Surface
Wax spills are almost inevitable when you’re learning.
A silicone mat or other suitable protective surface can make cleaning much easier and help protect your worktop from heat and spills.
4. Paper Towels and Cleaning Supplies
Keep cleaning materials nearby while you work.
Removing wax while it’s still melted is generally much easier to clean than trying to scrape a large hardened spill after you’ve finished your project.
However, don’t pour large amounts of melted wax down a household drain. Allow unwanted wax to cool and solidify, then remove it appropriately. Having a heat gun down the line helps also with the cleaning process, allowing you to remelt the hardened wax from pitches or moulds and easily remove it with the paper towels.
Candle-Making Safety Equipment
Safety deserves its own section because you’re working with hot wax, hot equipment and an open flame during the final use of the candle.
Keep your work area clean and well organized, and never leave melting wax unattended.
Make sure you have appropriate ventilation when working with fragrance oils and follow the safety information supplied by the fragrance and wax manufacturers.
A suitable fire extinguisher or other appropriate fire-safety equipment should be available in your workspace, and you should know how to respond if wax catches fire.
Most importantly, never use water to extinguish a wax fire. Water can cause burning wax to splatter and spread the fire.
If you’re making candles to sell, you should also research the candle safety, labeling and testing requirements that apply in your country before putting your products on the market.
The Basic Beginner Candle-Making Kit
If you’re making your first small batch of candles, you don’t need to buy everything at once.
A practical beginner setup could include:
- Digital weighing scale
- Digital thermometer
- Stainless-steel pouring pitcher
- Safe wax-melting setup
- Wick stickers
- Wick-centering tools
- Suitable candle wax
- Candle fragrance oil
- Correctly sized wicks
- Candle-safe containers
- Scissors or wick trimmer
- Heat-resistant gloves
- Protective work surface
- Paper towels and cleaning supplies
Once you’ve become comfortable with the basics, you can add equipment such as a heat gun, larger melting equipment and additional wick-testing tools.
Don’t Forget About Testing
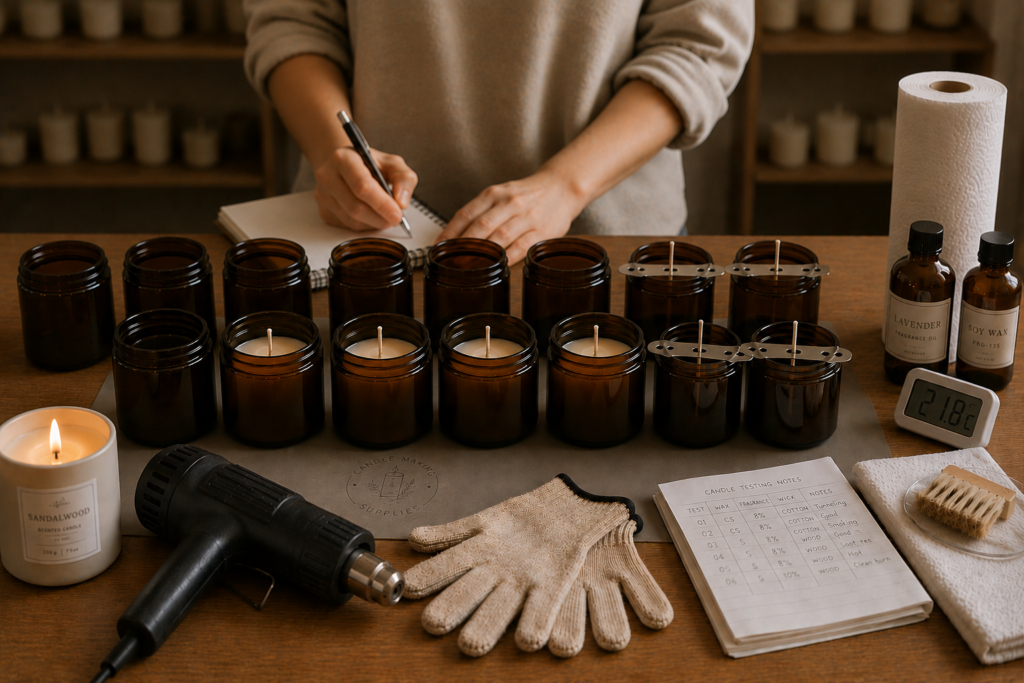
Buying the right equipment is only the beginning.
If you plan to give your candles as gifts or, especially, sell them to customers, you should test your finished candles rather than assuming that a particular wax, fragrance and wick combination will work.
A candle can look beautiful but still burn poorly.
During testing, pay attention to things such as flame behavior, melt-pool development, soot, container temperature and overall burn performance. Keep detailed notes so you know which combinations work and which need to be changed.
This is particularly important when changing the wax, fragrance, wick, container or fragrance concentration.
Final Thoughts
You don’t need an expensive professional setup to start making candles at home. With a good digital scale, thermometer, pouring pitcher, safe melting setup, wick tools and the right candle-making materials, you can make your first batch with relatively little equipment.
As you gain experience, you’ll naturally discover which tools make your particular process easier and more efficient.
Start with the basics, measure your ingredients carefully, follow your suppliers’ instructions and take the time to test your candles properly. Once you’ve mastered those fundamentals, you can experiment with different waxes, fragrances, containers and wick types to create candles that burn perfectly and are the fullest expression of your creativity.
Ready to get started? Begin with a small test batch rather than buying a large amount of equipment or ingredients. Candle making is a process of experimentation, and keeping good notes from every batch will help you improve much faster.